-
Snow Showers
In a previous tut (see Related articles), I explained why and how I have decided to do without Windows software running on Wine and create animations using GIMP only. There will be no sunshine after rain but snow in wintertime. Happy solstice!
Materials
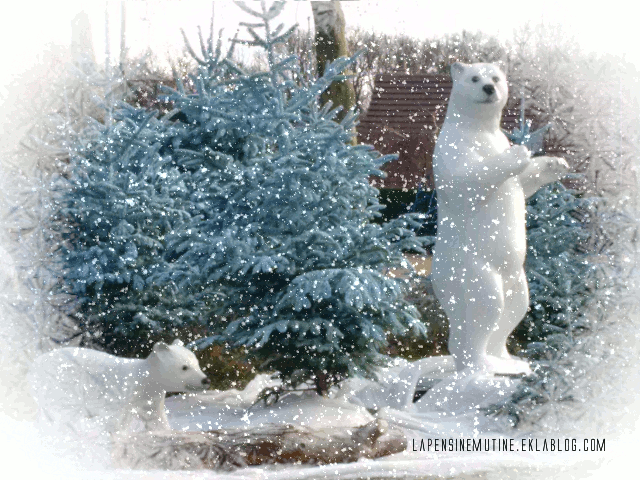
- a picture to add snow to (for this example, I picked up an image featuring stactic snowfall to create a swirling effect)
GIMP 2.10 (free and open source for Linux/Windows/OSX)
Instructions
1. Open a copy of the image you wish to animate in GIMP and if necessary, resize it to reduce loading time.
2. Add a new white layer on top of your existing image layer.
3. Colours - Invert menu.
4. Add noise via Filters - Noise - HSV Noise menu as follows:
- Dulling = 8
- Hue = 1
- Saturation = 1
- Value = 1
- Click on New Seed to generate new random pattern of pixels5. Apply Filters - Light and Shadow - Sparkle with the following settings:
- Luminosity threshold = 0,017
- Flare intensity = 0,50
- Spike length = 10
- Spike points = 5
- Spike angle = -1
- Spike density = 1
- Transparency = 0
- Random hue = 0
- Random saturation = 0
- Check Preserve luminosity
- Check Foreground colour (needs to be set on white)6. Remove black background of the layer via Colours - Colour to Alpha menu:
- Colour = black
- Other settings left as default7. Rename layer as Snow 1 et set blend mode to Overlay.
8. Repeat steps 2 to 7 twice. Don't forget to click on New seed on step 4 (very important). And rename layers as Snow 2 and Snow 3.
9. Duplicate background image layer twice and insert a copy under each snow layer.
10. Merge down each s,pw layer with the image layer below using Layer - Merge Down context menu. You should now have 3 different layers.
11. Change colour mode for an optimised GIF using Image - Mode - Indexed menu:
- Generate optimum palette
- Colour dithering = Floyd-Steinberg (reduced colour bleeding)12. Now you can export your animation via the File - Export as menu, choosing Image GIF Image as File Type. Another dialog opens to adjust the settings of you output file:
- Check As animation
- Check Loop forever
- Delay between frames where unspecified = 200 ms
- Other settings left as defaultNOTE: Before merging down snow layers, you may want to erase some snowflakes from faces for instance.
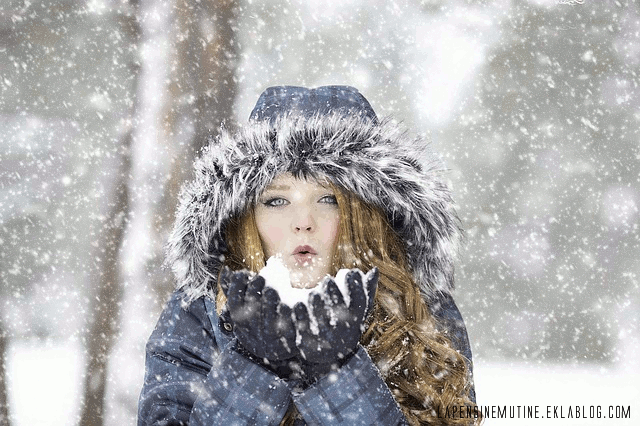
For my second example using a personal picture, I opted for a falling effect. I first applied a mask to soften the image. On step 7, I set blend mode to Linear light and slightly reduced opacity. Instead of repeating steps to create additional snow layers, I duplicated the first one twice and applied a vertical offset using Layer - Transform - Offset menu with y = -30 for snow 1 layer and y = 30 for snow 3 layer, while snow 2 layer remained untouched. Then I duplicated and inserted each background image layer under each snow layer and merged down as previously explained. Upon exporting as GIF image, a pop-up window prompted me to crop overlapping layers by clicking on a button. Finally, I chose a frame delay of 400 ms.
Well, you should now be fully prepared to fight against global warming, otherwise ready to animate electronic Xmas cards. As for windy conditions, let's save it for another tut.
Ey@el
Related articles
Reproduction of the above contents is strictly prohibited.
© lapensinemutine.eklablog.com. All rights reserved.« Why Quick Fix Healing Modalities Don’t Provide Permanent HealingThe Enchanted Metsät of The Far North » Tags: tutorial, graphics, animation, download, eyael, gimp
-
Comments
Thought repository for cluttered mind
-

My name is Eyael and I'm pleased to welcome you in my Pensieve. For an optimal brow-sing experience, here are some tools to effectively navigate:♦ Sitemap
♦ Ad blocker
♦ Newsletter
♦ RSS feedA quick word in my guestbook would also make me very happy!
You may also follow me on my social media:

Thank you,

STATISTICS
Online since: 06/08/2013
Articles 1320
Total visitors: 131305
Today: 181
Connected : 1