-
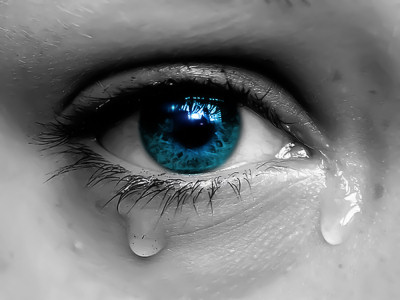
How to blink an eye
As promised in my previous tutorial (see Related articles), I shall try to teach you how to graphically blink an eye from a single still image. For that, you'll need some graphic software (I've used Paint Shop Pro X) and Animation Shop or any other program with which you can create animated GIFs from multiple images. Please note, however, that even though the instructions are simple, this technique is not for beginners as it requires a good mastery of all editing tools. Don't let it stop you in your tracks though for as the saying goes, practice does make perfect.
Materials
- a portrait (human or animal) large enough to work at ease
Animation Shop (installation required)
Instructions
1. Open a copy of your desired picture in Paint Shop Pro. Duplicate layer.


2. Using the Clone Brush to clone some skin, paint all over the eyelid(s) to “close” the eye(s). Now with the Smudge Brush, even it out as show on the capture opposite.
3. Hide the top layer and select the original layer. Using the Freehand Tool raw a selection around the top lashes and promote this selection onto a new layer. Unselect all.
4. Move up the new layer on top and flip it vertically. Unhide the hidden layer (closed eye(s)) and place the lashes on the bottom end of the eyelid(s). You'll probably need to edit out the lash line using the Eraser Tool to make it fit the shape of the closed eyelid and remove excess lashes on the outer sides and extend it to the inner corner (in red on the image opposite).
5. It doesn't need to look perfect since the closed eyelid will be displayed only very briefly. However, since I've used a close shot, I wanted it to make it look more natural. So I've added a new layer under the eyelash layer. I picked up a light shade on the visible part of the original eyelid and used the Airbrush to spray-paint half of it the eyelid on the new layer starting at the inner corner (in blue on the image opposite). Then I lowered the layer opacity a little bit to “smudge” it out.
6. I've added another layer on top and spray-painted some black over the lashline and the external corner of the eye (in green on the image opposite).
7. Finally, I hid the original layer then merged all visible layers and unhid the original layer. I used the Smudge and Smooth Brushes for a cleaner finish.
8. Now save your picture as a PSP file for Animation Shop (or the warped output as a JPG file).
9. Launch Animation Shop and load your two-layer picture (or your original picture to which you'll import the output after existing frame).
10. Now you need to set duration (ALT+Enter) for each frame. In this example, I chose 200 for the first frame (original) and 7 for the second frame (closed eye).11. Launch the Optimisation Wizard (via File menu) and choose “Animated GIF File” then click Next. Choose “Best Quality” then click Customise.
Colour tab:
- Number of colours: 255
- Optimised Octree
- Error diffusion
Optimisation tab:
- All options checkedClick OK then Next to start optimisation. Now you can save your animation as GIF file via the File menu.
Click on each picture to enlarge
For the above example (which is part of a larger and more complex picture it took me hours to design) the animation was much easier since I only had to paint the owl's eyes using a light shade of grey. Since owls do not blink like humans, I've used different duration values: 140 (original) and 10 (closed eyes).
Voilà! Now you can blink any eye you wish. Avoid a common mistake with cats eyes as they have two eyelids while the first one closes horizontally.
Ey@el
Related articles
Reproduction of the above contents is strictly prohibited.
© lapensinemutine.eklablog.com. All rights reserved. Tags: animation, photo, tutorial, download, eyael
-
Comments
Thought repository for cluttered mind
-

My name is Eyael and I'm pleased to welcome you in my Pensieve. For an optimal brow-sing experience, here are some tools to effectively navigate:♦ Sitemap
♦ Ad blocker
♦ Newsletter
♦ RSS feedA quick word in my guestbook would also make me very happy!
You may also follow me on my social media:

Thank you,

STATISTICS
Online since: 06/08/2013
Articles 1319
Total visitors: 130435
Today: 135
Connected : 1