-
How to apply partial desaturation to images
Further to my previous tutorial in which I explained how to convert a picture to black and white while preserving the colours of selected parts (see Related articles), here is an alternative way to do essentially the same thing but using a French freeware by the developer of PhotoFiltre. It runs on Windows (also on Wine for Linux) and is a standalone application so you won't need any additional image editing software such as Paint Shop Pro, Photoshop, GIMP, etc. Please note however that, in spite its ease of use, many tryouts might be necessary until you get what you want and also that such manipulation won't look good with every pictures. Still you may create interesting effects which might be difficult to get using my previous method.
Materials
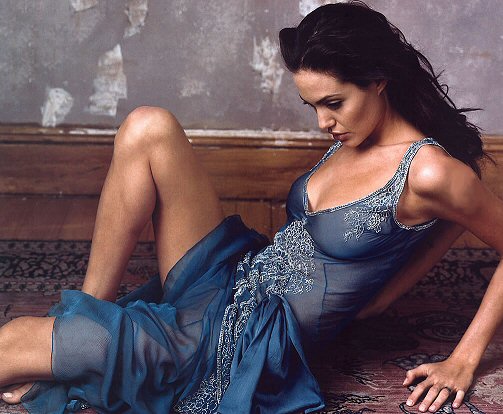
- a photo preferably with a contrasting background
Instructions
1. Launch the application and open a copy of the image you wish to desaturate.
2. Click on a colour you wish to preserve to display it in the palette to the left. Repeat the process for each colour to be preserved.
3. Carry out the following adjustments:
- Threshold (Tolérance): specifies the maximum colour difference tolerated to convert or preserve pixels to grayscale. Thus a low threshold value will only convert pixels whose colour is close to those selected in the left palette whereas high threshold values allow for more significant colour differentials.
- Feathering (Contour progressif): creates a gradual transition between coloured areas and grayscale zones.
- Colour Gradient (Dégradé de couleurs): during processing, colour gradients will be taken into account to add intermediate colours while comparing two colours.
- Sepia: used instead of grayscale for desaturated colours.
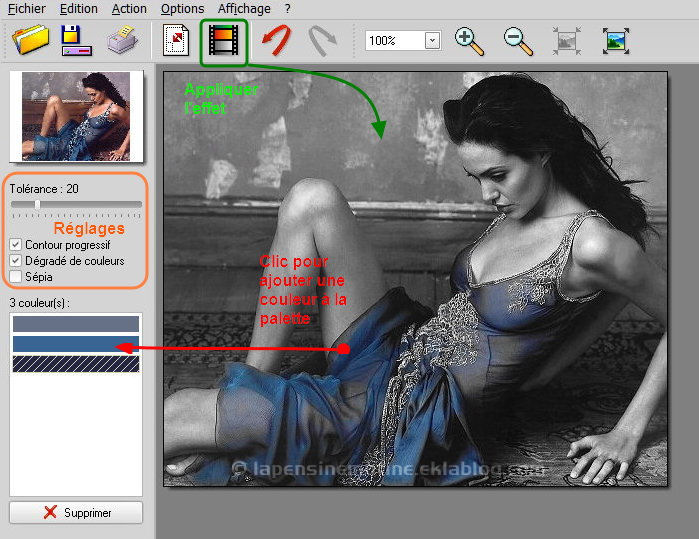
NOTE: I apologize the above capture is in French but the software is also available in English (in red: “Click to add colour to palette” — in green: “Apply the effect”).
4. Click on the icon as shown above to start processing the picture and see the output. If you're unhappy with it and wish to refine/change some settings, delete or add colours to be preserved, click on the red return arrow (or use Edit > Undo last action menu or CTRL+Z shortkey) to cancel.
5. When you're happy with the result, do not forget to save your picture to your desired file format.
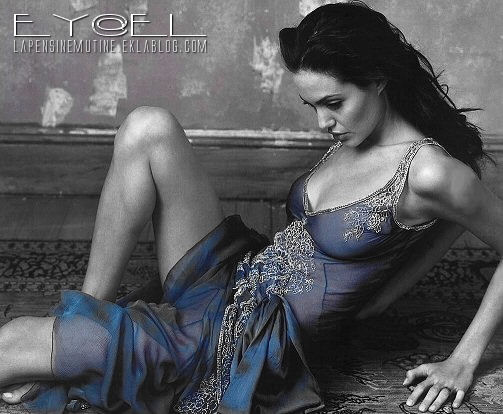
For the above landscape, I've selected 9 colours to preserve, set the threshold to 29% et and ticked Colour Gradient only.
Click on each picture to enlarge
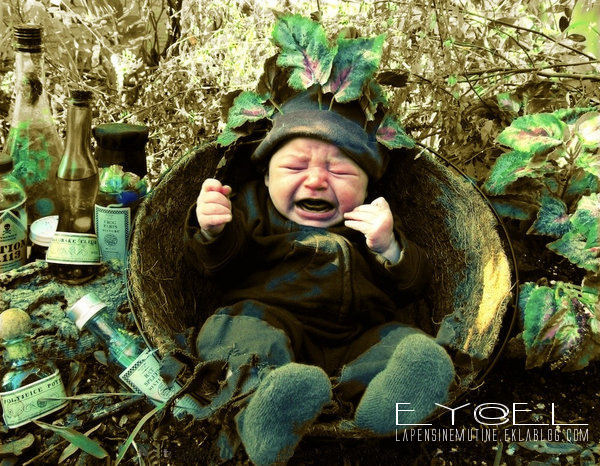
For this last example featuring a baby Mandrake shot by Harry Potter fans, I picked up 5 colours, selected all options, and set the threshold to 55%.
Voilà, hope you this makes you want to give it a try. As always, do not hesitate to experiment. I didn't test it but it's possible to cumulate the effect several times (without cancelling) with different settings.
Ey@el
Related articles
Reproduction of the above contents is strictly prohibited.
© lapensinemutine.eklablog.com. All rights reserved. Tags: tutorial, graphics, download, eyael
-
Comments
Thought repository for cluttered mind
-

My name is Eyael and I'm pleased to welcome you in my Pensieve. For an optimal brow-sing experience, here are some tools to effectively navigate:♦ Sitemap
♦ Ad blocker
♦ Newsletter
♦ RSS feedA quick word in my guestbook would also make me very happy!
You may also follow me on my social media:

Thank you,

STATISTICS
Online since: 06/08/2013
Articles 1319
Total visitors: 130098
Today: 21
Connected : 1